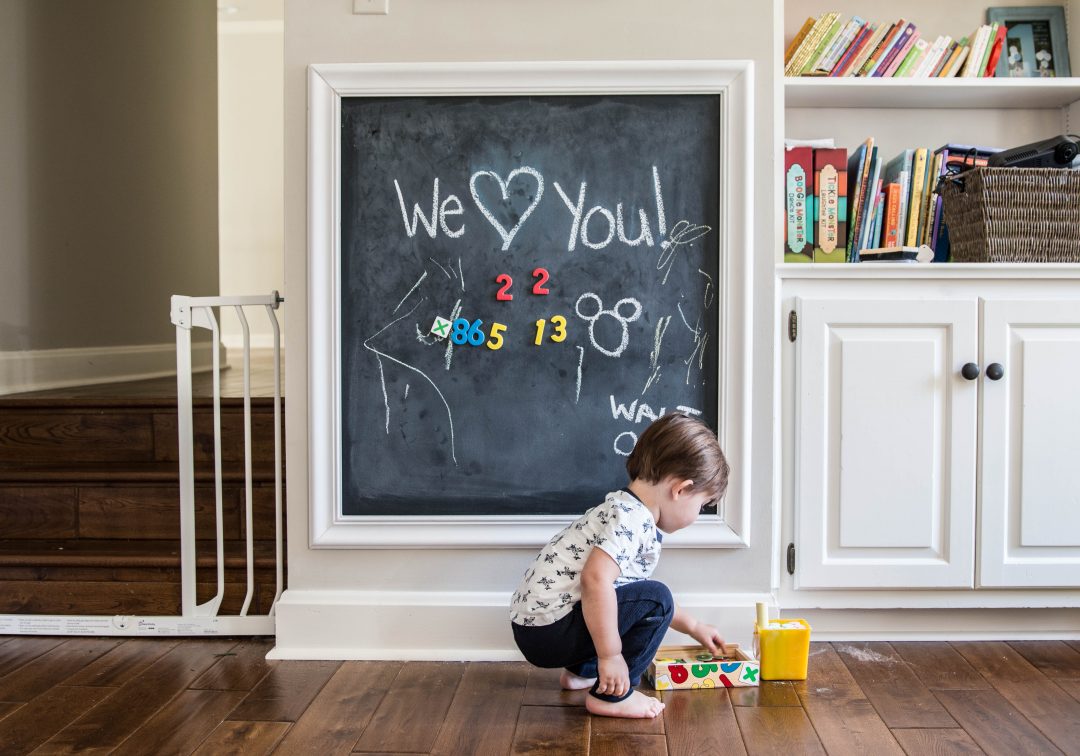
I have always loved chalkboards. When I was a kid, I would get so excited when my teacher would call on me to go to the chalkboard to answer a question. When I heard about chalkboard paint, I knew I had to have that for my boys. While doing some research to figure out how I wanted to create the chalkboard, I found out about magnetic primer. We don’t have a magnetic refrigerator, so I knew I wanted something for Walt to be able to play with all his magnetic letters and numbers on. This was perfect! I was a little nervous about how well it would actually work, but I figured it was worth a shot.
This project was so easy to do, and it provides a ton of entertainment for tots. I got Walt some Melissa and Doug Mickey Mouse Magnets, and he is obsessed with them to say the least. He loves lining them up on the chalkboard and then making them “fly” across the room. We’re trying to teach him not to throw in the house, but it’s just so cute that it makes it hard to correct him!
Here are the steps and supplies that I used to create the magnetic chalkboard and frame
Supplies:
Chalkboard:
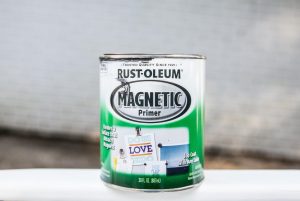
Magnetic Primer (Rust-oleum is the brand I used)
ChalkBoard Paint (Rust-oleum)
A Cloth or Paper Towel
Frame:
4 Pieces of Chair Rail or Baseboard Molding (cut to needed length)
Paint (color of your choice, but I chose white)
Loctite (or liquid nails)
Instructions:
- Figure out where you want your magnetic chalkboard to be. Use a level and yardstick to sketch out the area.
- Line the sketched space with painters tape.
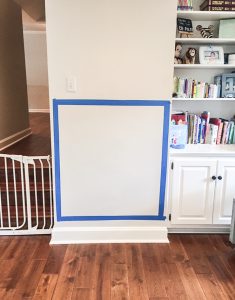
- Use your roller brush and start your first coat of magnetic primer. It will need at least two coats of the primer to make sure it’s strong enough for magnets to stick. I let mine dry for a good thirty minutes in between coats. Also, be ready to STIR. My arm was so sore from stirring the primer I had to call my husband in for backup support. Also, I threw away the brush I used for the primer because is was SO sticky afterward. I wasn’t about to spend an hour trying to clean that thing.
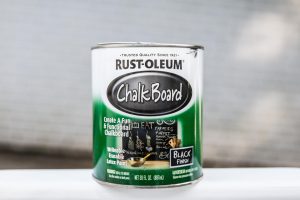
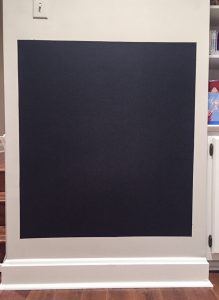
- Wait an additional hour after your second coat of primer and paint your first coat of the chalkboard paint. Wait another hour and do another coat of the chalkboard paint. If you’re not adding a frame then you’re done! I wouldn’t add any magnets or chalk to it for a solid 24 hours.
- WARNING: This step is messy and you’re at risk of hearing the nails on a chalkboard sound. So, be careful and save your ears the pain! After your 24 hours is up, you need to prep the board. Use a piece of chalk and rub it across the entire board. Once you have it covered, use an old hand towel or paper towel and rub it into the board in circular motions. Then wipe down the whole board with an eraser.
- For the frame: I enlisted the help of Davis. Go to your local home improvement store and pick out whatever materials you want to use. I picked out some 2-5/8″ chair rail and had them cut each piece to the necessary length in the store.
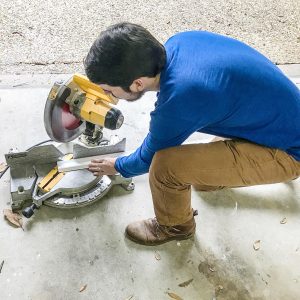
- With a miter saw, cut the ends of each piece at a 45° angle.
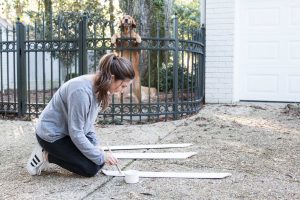
- Paint each piece whatever color you want. I chose white because I thought it would hide the inevitable future chalk smudges the best and because I love white everywhere in our house.
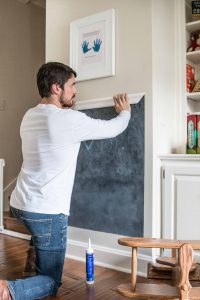
- Attach each piece to the wall using a construction adhesive. I used Loctite Express Power Grab.
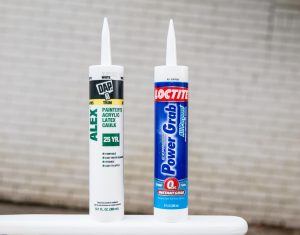
- Once dry, use some caulk at the seams along the corners to fill in any gaps. I bought some white DAP Painter’s Acrylic Latex Caulk.







No Comments